Customize my banners in Advanced Email Security
If you're an admin, you can change how Advanced Email Security displays banners or tags on your incoming email messages.
You can change whether each tag type is shown on your messages, customize the settings for Learn More (displayed in the upper-right corner of each tag) and add custom text.
- Sign in to your GoDaddy Advanced Email Security page (use your GoDaddy username and password).
- Select Sign in to Advanced Email Security. The sign-in page will open.
- Enter your email address, select Sign In, and then Sign In With Microsoft.
- Follow the onscreen prompts to sign in with your Microsoft 365 email address and password. The Advanced Email Security portal will open.
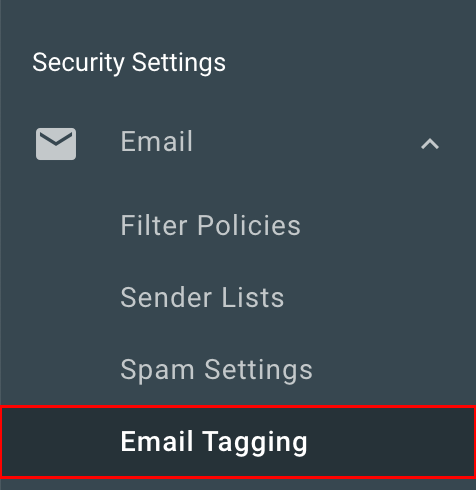
- Select Email, and then Email Tagging.
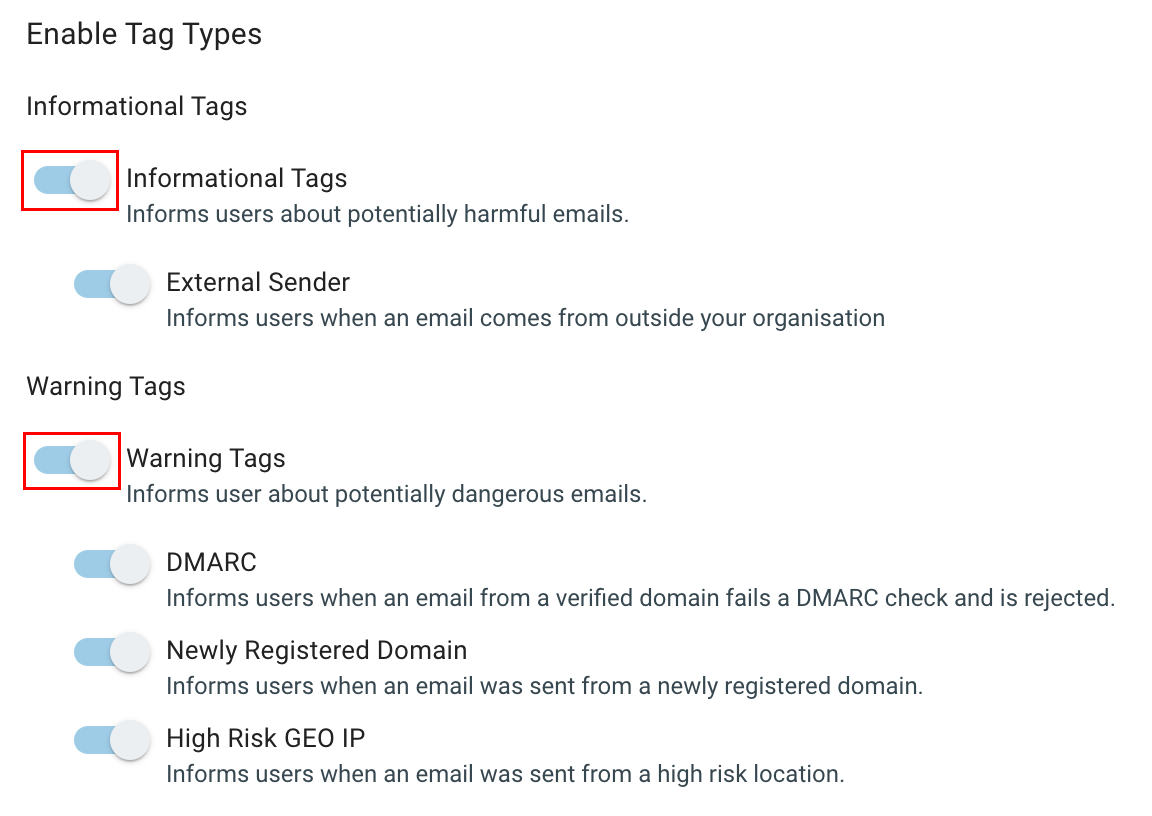
- To change whether each tag type is shown on incoming messages, under Enable Tag Types, switch the Informational Tags or Warning Tags toggles. By default, both tag types are enabled (show blue).
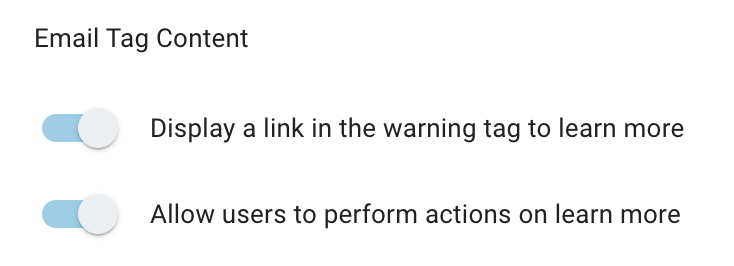
- Change the settings for Learn More (displayed at the upper-right corner of each tag):
- To change whether Learn More is shown on each banner, switch the Display a link in the warning tag to learn more toggle.
- To allow users to take action from Learn More, switch the Allows users to perform actions on learn more toggle.
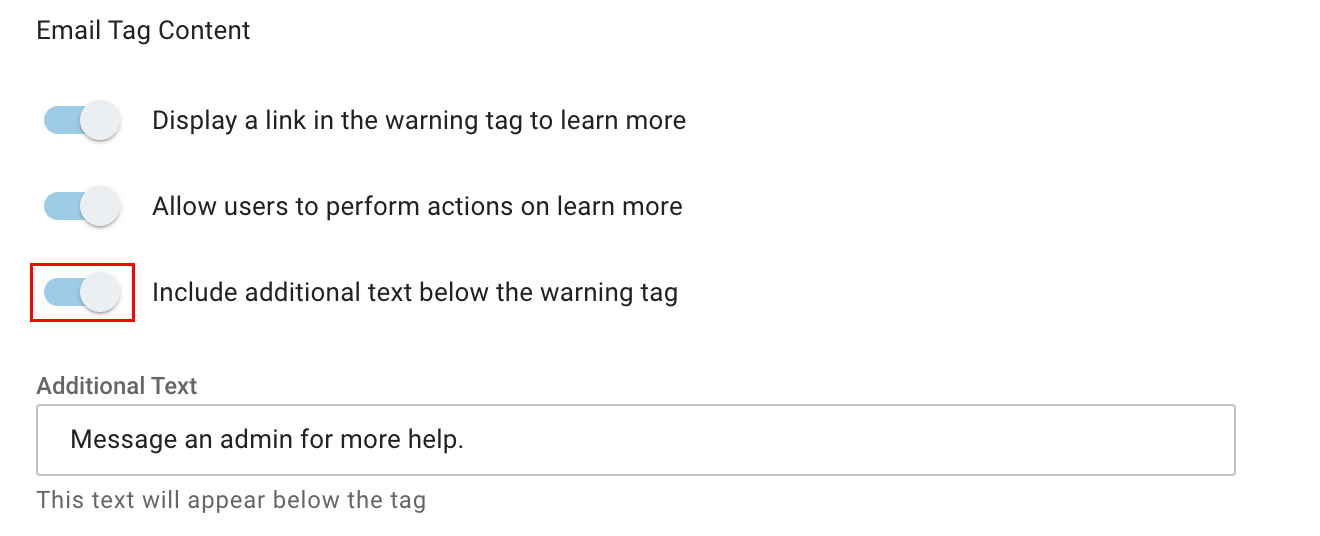
- To add text below the warning tag, turn on the Include additional text below the warning tag toggle, and then enter your text.
- When you're done, select Save. Your tag changes will be saved.
More info
- What is Advanced Email Security?
- What do the banners from Advanced Email Security mean?
- Encrypt messages with Advanced Email Security
- If these steps don’t match your Advanced Email Security experience, you might be on INKY. Check out our PDF for help with Advanced Email Security powered by INKY.
